
So I’ve had a chance to play around with the set-up of Sitecore Docker Images recently. Now I wanted to run Sitecore Commerce version 9.3 by using Sitecore Docker images and Windows containers as well.
There are some hiccups during my journey, however, the following links are helpful for me:
- Running XC https://github.com/Sitecore/docker-images/blob/master/windows/tests/9.3.x/README.md
- Add XC 9.3.0 – the Pull Request of Joost Meijles
Prerequisites
- Windows 10
- Sitecore license
- Note: you can request it via Sitecore free Developer Trial Program
- Docker Desktop
- Sitecore certified account on Sitecore Downloads
- Git for Windows Setup
- whales-names
Step-by-step Set Up
- please ensure performing Step 1 -> 8 in the set-up of Sitecore Docker Images if NOT YET
- let’s build docker images of Sitecore XC 9.3.0 on latest LTSC (Long Term Support Channel) Windows version
- open Windows PowerShell (run as administrator)
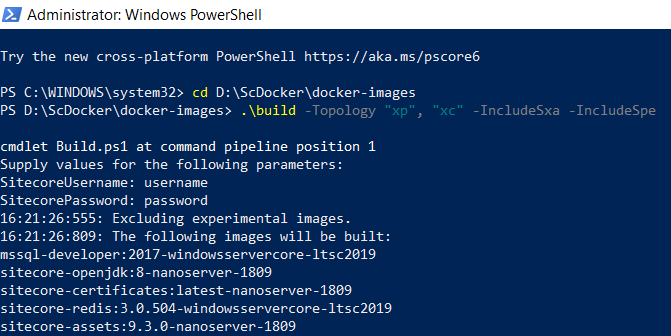
- change directory to D:\ScDocker\docker-images
- Note: at this moment, the latest Sitecore version is 9.3 and we can use –SitecoreVersion parameter to build image of other versions as well
- Ex: .\build -SitecoreVersion “9.2.0” -Topology “xp”, “xc” -IncludeSxa -IncludeSpe
- execute .\build -Topology “xp”, “xc” -IncludeSxa -IncludeSpe and then enter username / password of your Sitecore certified account on Sitecore Downloads
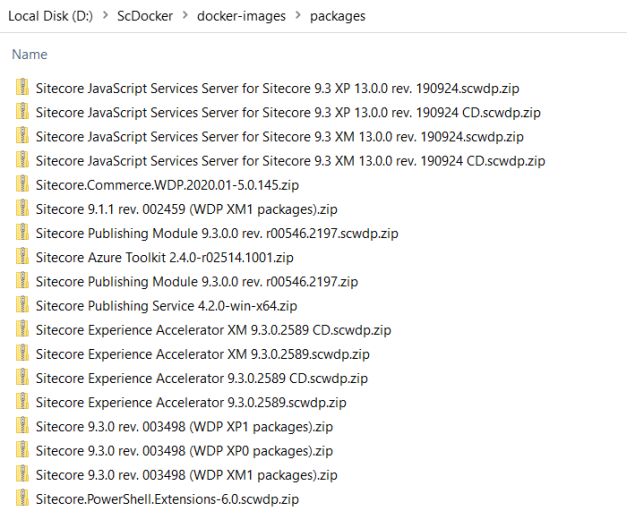
- (optional) in D:\ScDocker\docker-images, create packages folder manually and then copy / paste all the following Sitecore packages are compatible with 9.3 version to “D:\ScDocker\docker-images\packages” folder
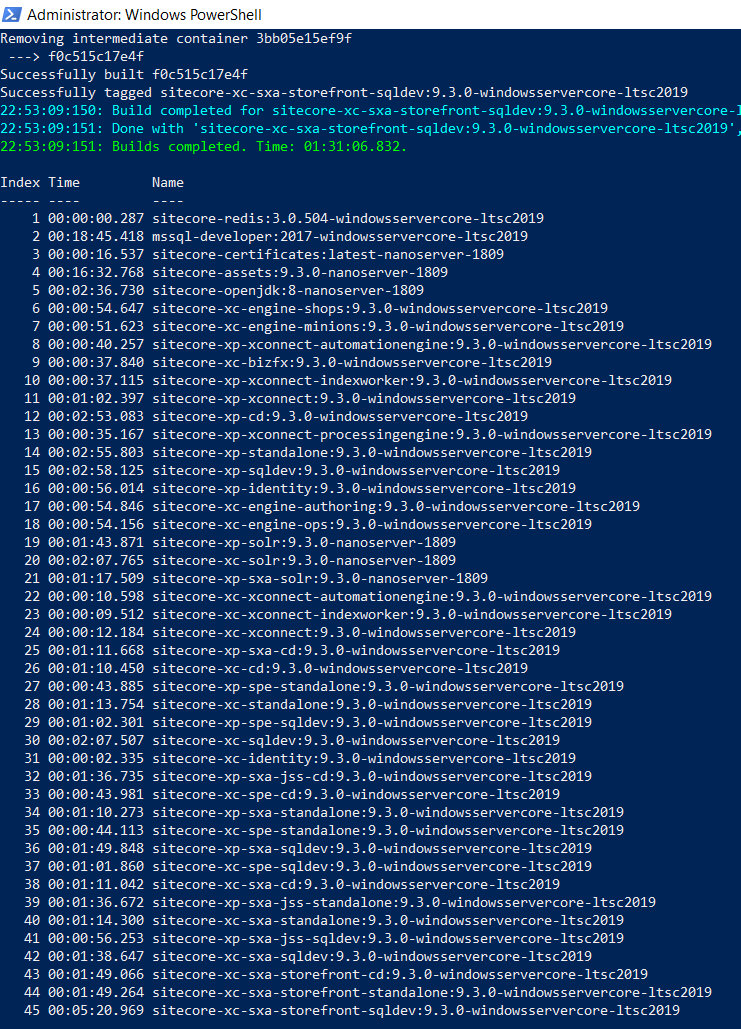
- hopefully will see something like this after a loooooooooooog operation
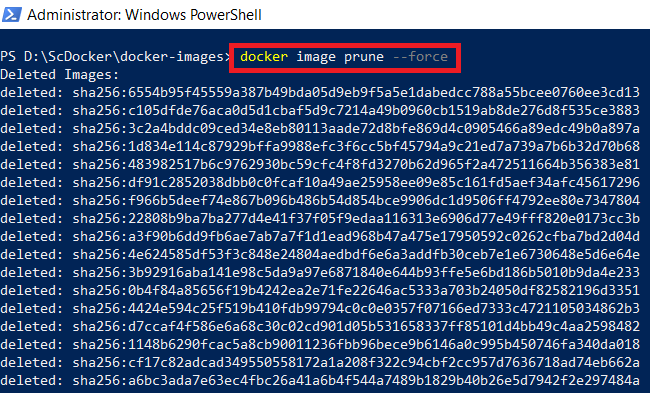
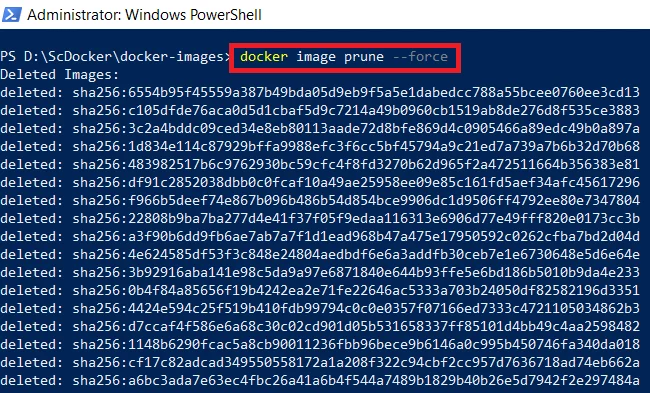
- Note: we should remove unused images (dangling images created during build) as well to save a lot of disk space by executing docker image prune ‐‐force
-

- open Windows PowerShell (run as administrator)
- ensure that this file C:\license\license.xml is available, otherwise will see this error message later License file is not found. or “License not found at ‘C:\license\license.xml’”
-
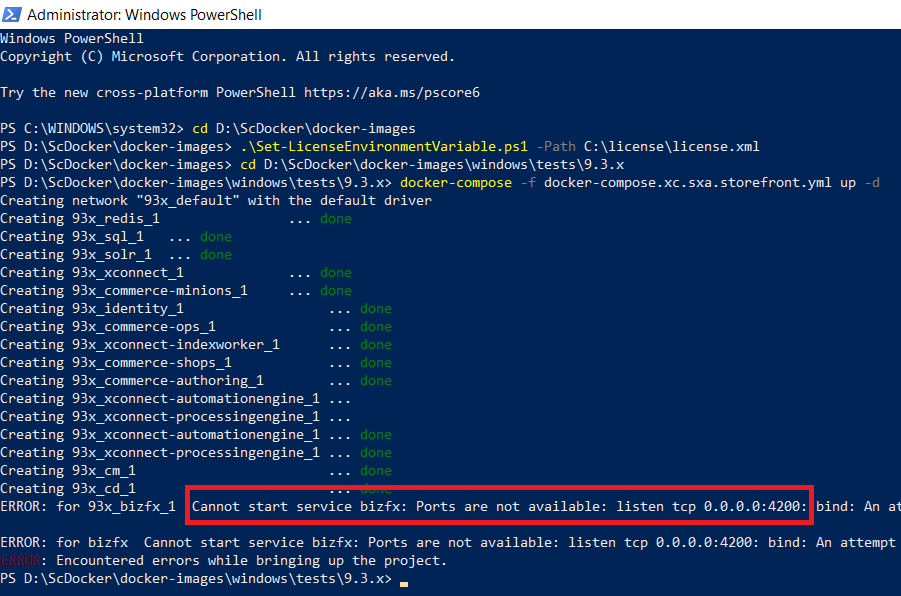
- ensure that port 4200 is NOT in used (normally, we should stop IIS web server and windows services if any)
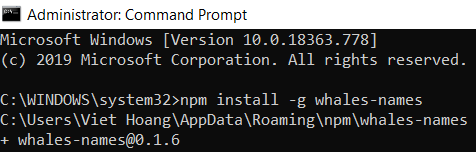
- install whales-names so we can configure XC’s DNS names such as cm, cd, identity, bizfx, etc automatically as internal container IP may be different after executing docker-compose up / down
- (optional) the virtual machine isolation mode should be hyperv in D:\ScDocker\docker-images\windows\tests\9.3.x\.env rather than process
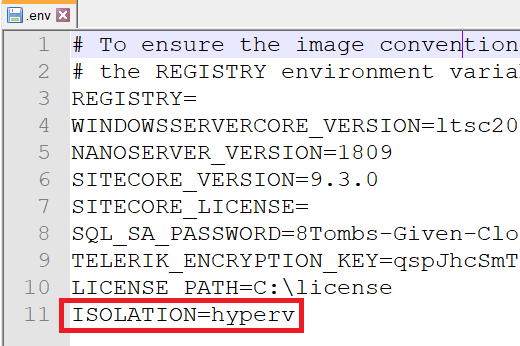
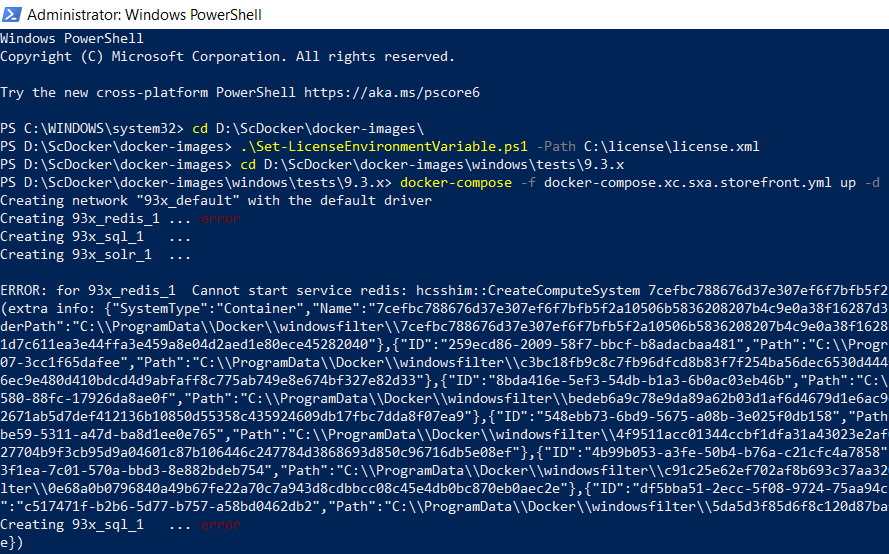
- otherwise, we may get the following error Cannot start service
- let’s spin up Sitecore XC 9.3 instances with SXA Storefront
- open Windows PowerShell (run as administrator)
- change directory to D:\ScDocker\docker-images
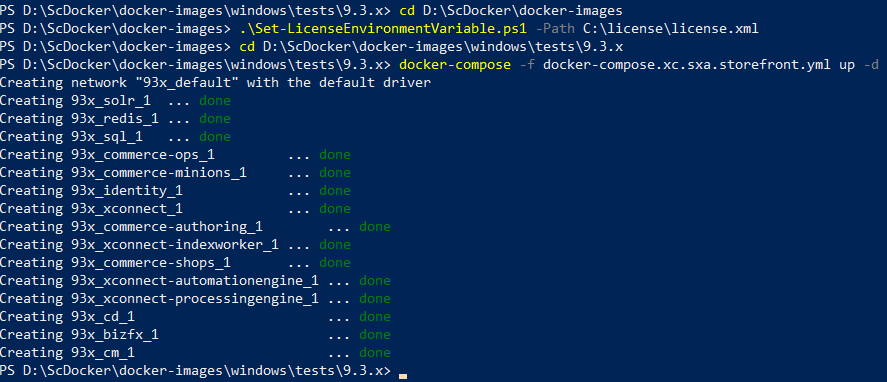
- execute .\Set-LicenseEnvironmentVariable.ps1 -Path C:\license\license.xml
- change directory to D:\ScDocker\docker-images\windows\tests\9.3.x
- Note: if we switch between versions, variants or topologies, we will have to clear the data folders by executing .\Clean-Data

- execute docker-compose -f docker-compose.xc.sxa.storefront.yml up -d
- let’s configure DNS names automatically
- open Windows PowerShell (run as administrator)
- execute whales-names

- hopefully we would see something like the following ones in hosts file (normally, it’s in C:\Windows\System32\drivers\etc)

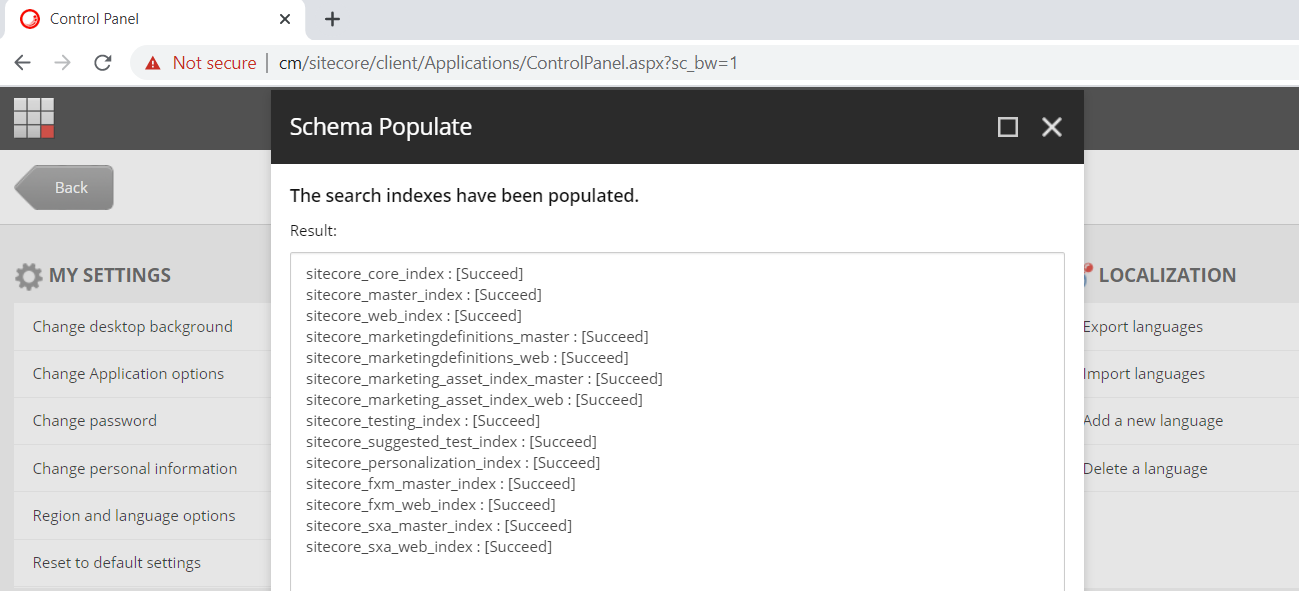
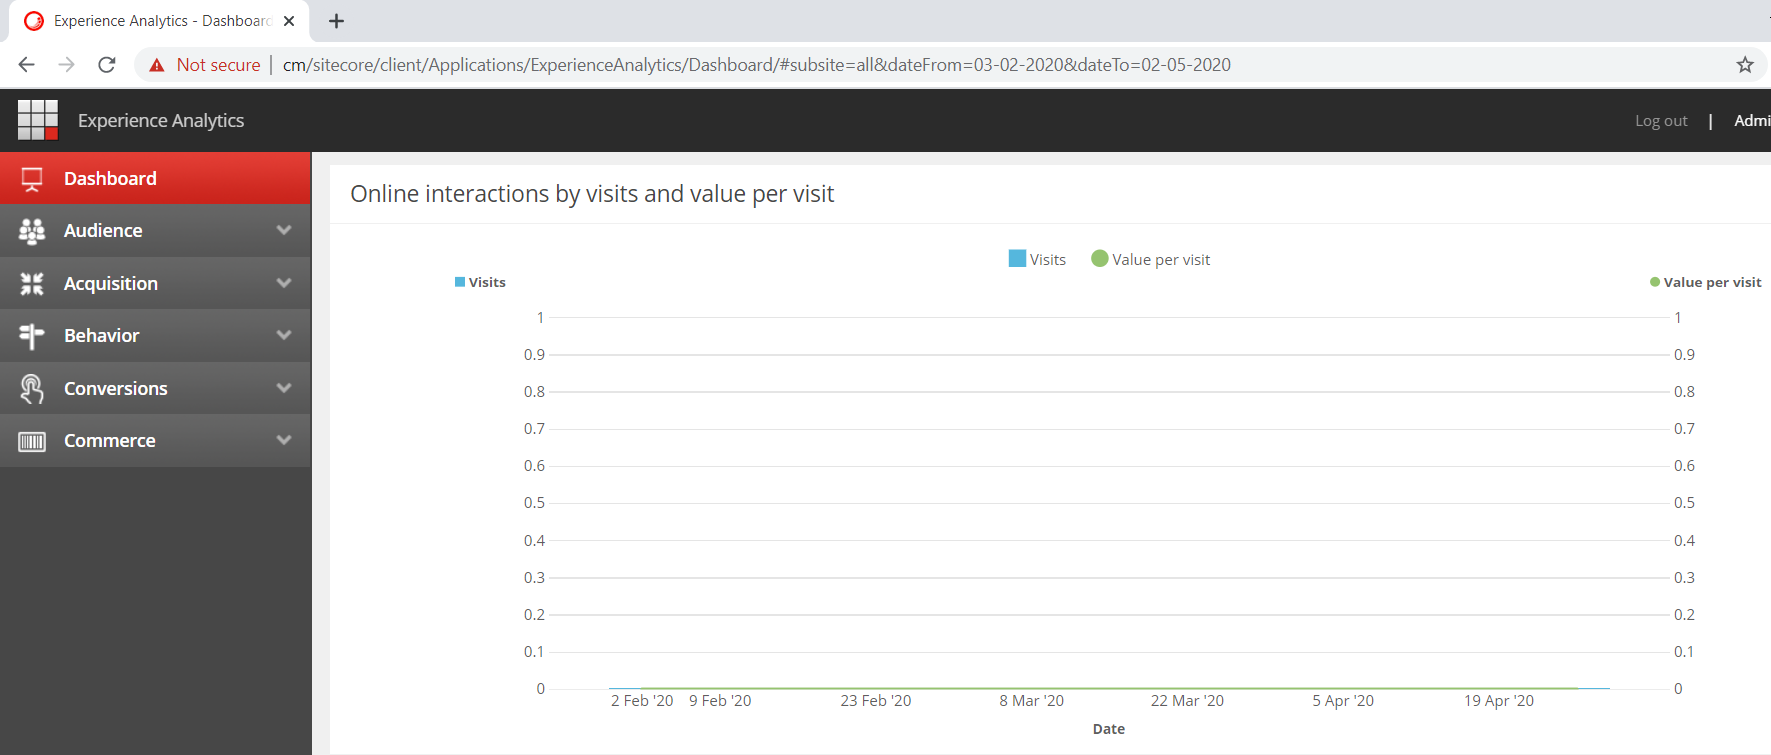
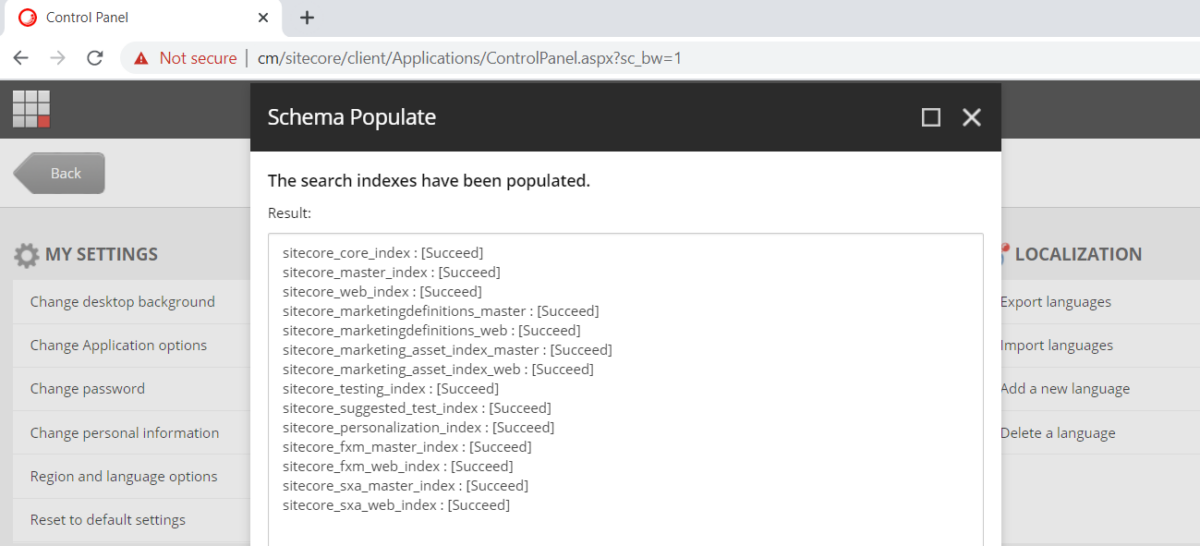
- log into Sitecore (admin / b) and then verify the following ones:
- Note: always click Cancel button if there is a certificate dialog box
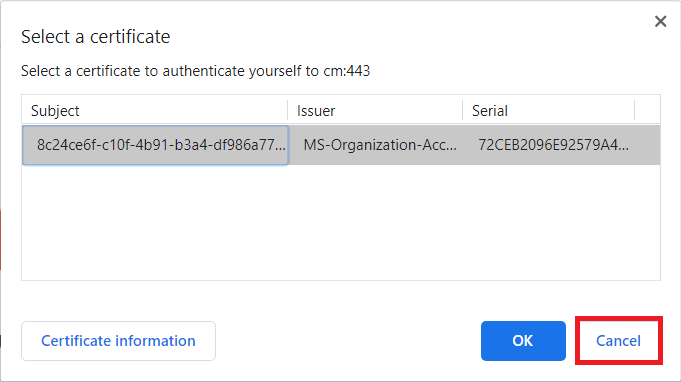
-
- perform the following Sitecore Commerce post-install steps using Postman
- let’s configure Postman environment to use XC’s DNS names

- Bootstrap the Commerce Engine
- Clean and initialize the environment
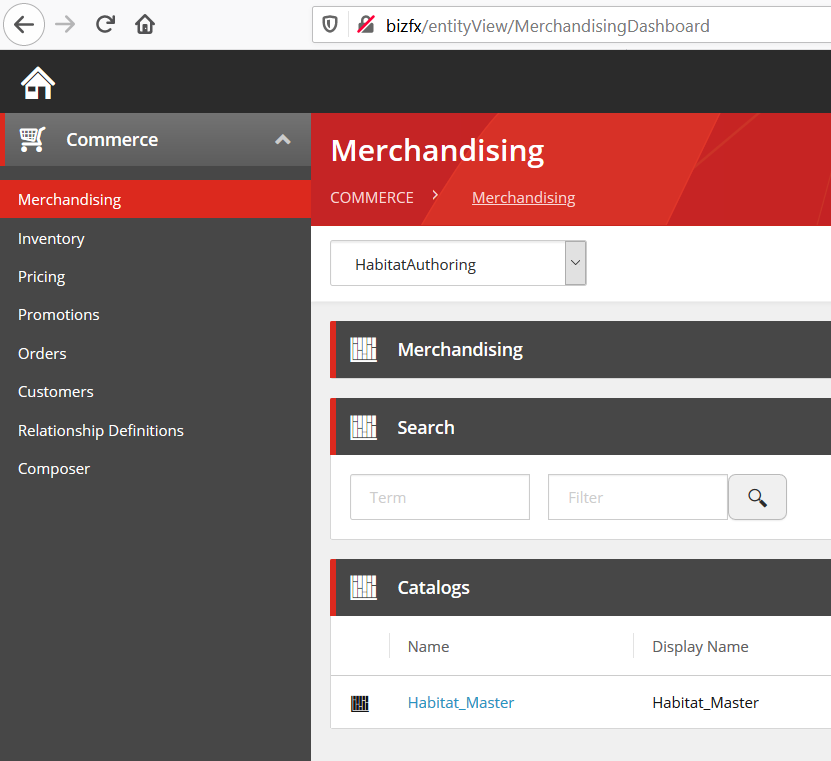
- ensure that Habitat catalog is present on both BizFx and CM
- Note: always click Cancel button if there is a certificate dialog box

-
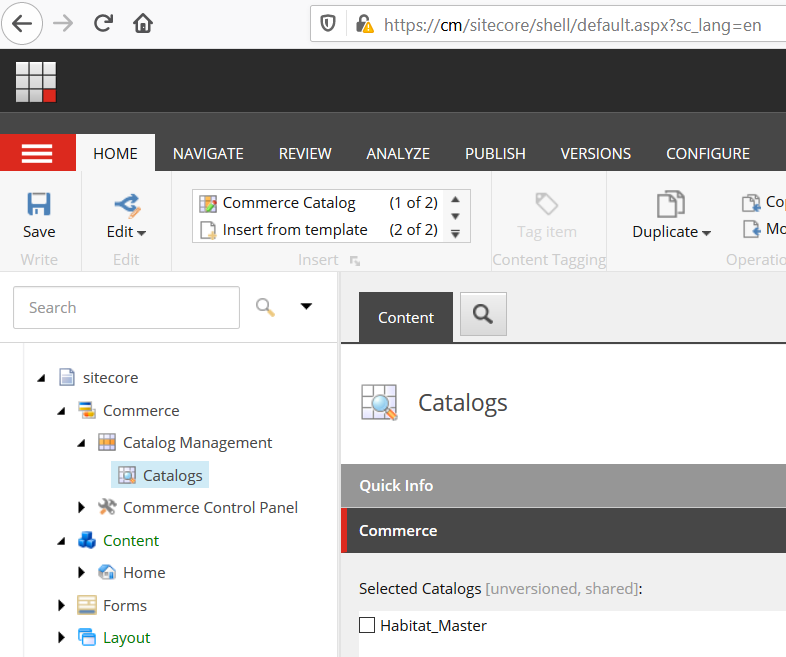

- log into Sitecore (admin / b) and then:
- ensure that Sitecore Commerce templates is NOT out of sync by hitting Update Data Templates in the COMMERCE tab of Content Editor

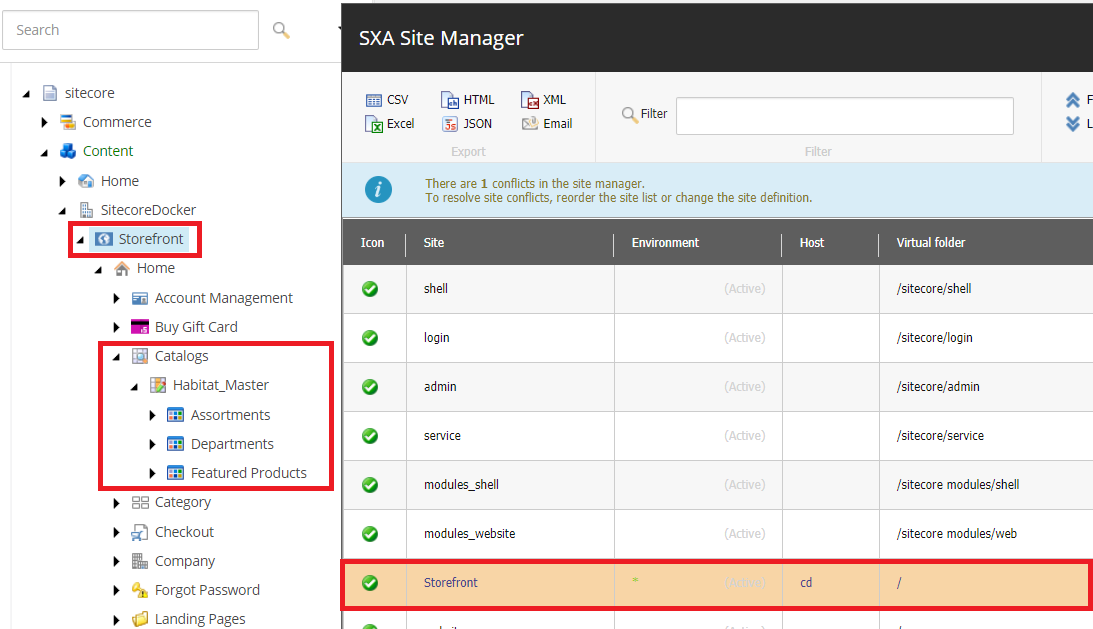
- set up a Storefront whose host name is cd by following Create a Commerce tenant and site
- perform a full publish
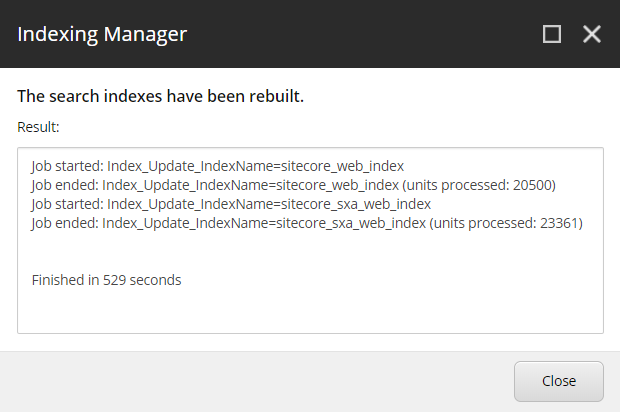
- perform an index rebuild of sitecore_web_index and sitecore_sxa_web_index
- let’s access the Storefront on CD https://cd and then try adding some products


Note: some known issues
- an error has occurred while executing docker-compose -f docker-compose.xc.sxa.storefront.yml up -d
- Cannot start service … context deadline exceeded …
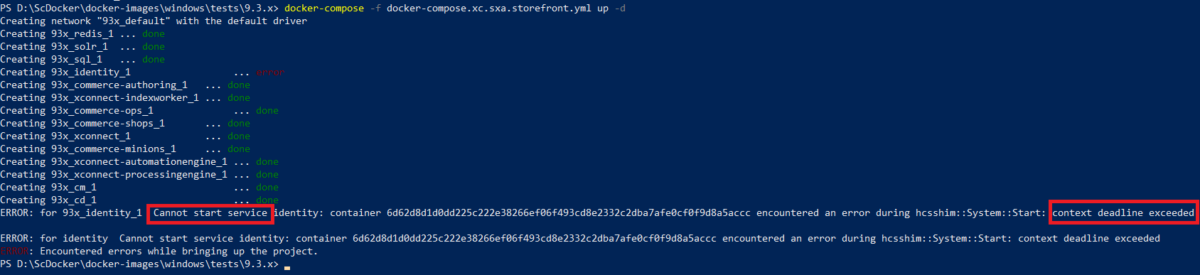
- my suggestion is to quit Docker Desktop and then run it again
- Unable to convert type

- my suggestion is to ensure that Sitecore Commerce templates is NOT out of sync by hitting Update Data Templates in the COMMERCE tab of Content Editor

Happy Sitecore Docker!
This article originally appeared on Walking on clouds (https://buoctrenmay.com/).