Actually, you will not be able to install Sitecore XC 9 Update 2 (aka XC 9.0.2) by using its default settings if there is a Sitecore XC 9 Update 1 (aka XC 9.0.1) instance on your machine. You need to modify the appropriate ones in many places manually before installing it. Another way is to uninstall everything of XC 9.0.1 before installing XC 9.0.2 and making it work properly.
You want to keep the current 9.0.X (X = 0, 1, 2) instance and install another XC 9.0.2 instance(s) as well on your own machine? You’d love to give my way a shot.
Personally, it’s a good chance for me to have a deep dive into the operation by learning and modifying some configurations and modules of the installation package in order to make it fit with my needs.
Assumptions
- having XC 9.0.2 instance along with other XC 9.0.X instances are available on the same machine
- all XC 9.0.2 stuff should have unique identifier rather than default one by:
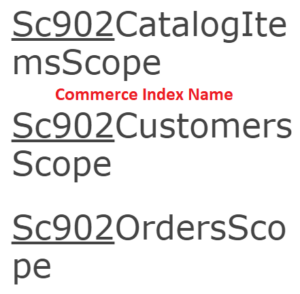
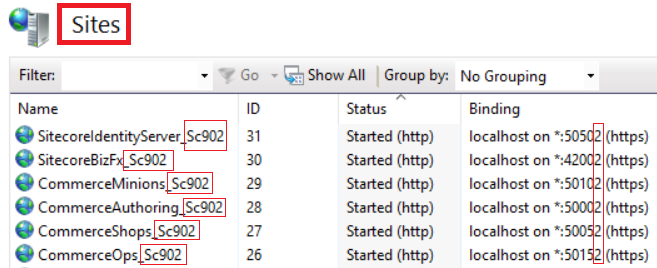
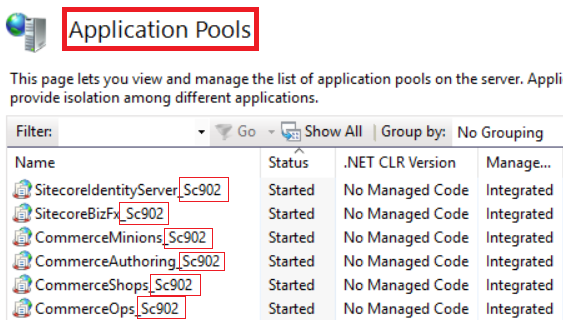
- adding the instance suffix to all site name / all application pool (all physical path as well) + all indexing name + all database name
- adding service port suffix to all service port
- assuming that instance suffix is Sc902 and service port suffix is 2, you will see something like these ones after installing it successfully
Setup Prerequisites
- Windows 10
- Sitecore Experience Platform 9.0 Update 2
- Sitecore Experience Accelerator 1.7.1(Note: must log into https://dev.sitecore.net/ before downloading)
- Sitecore Powershell Extensions 4.7.2
- .NET Core SDK 2.0.0
- .NET Core Windows Server Hosting 2.0.0
- Packages for On Premises 2018.07-2.2.126(Note: must log into https://dev.sitecore.net/ before downloading)
Step-by-step guide
- install the ones below if not yet
- a fresh Sitecore 9.0 Update 2 instance, let’s say local and sc902com.xconnect.local (xConnect site)
- .NET Core SDK 2.0.0
- .NET Core Windows Server Hosting 2.0.0
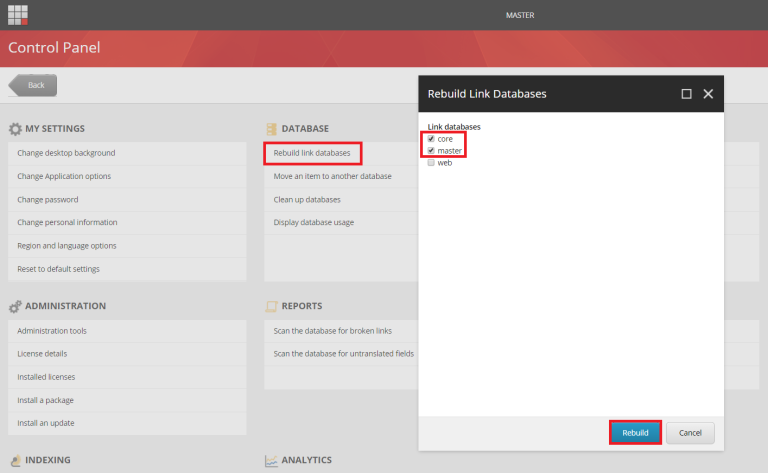
- rebuild the Link databases for the masterand core databases if not yet:
- on the Sitecore Launchpad, click Control Panel, and in the Databasesection, click Rebuild Link Databases
- select the master and core databases and then click Rebuild
- rebuild the search indexes if not yet:
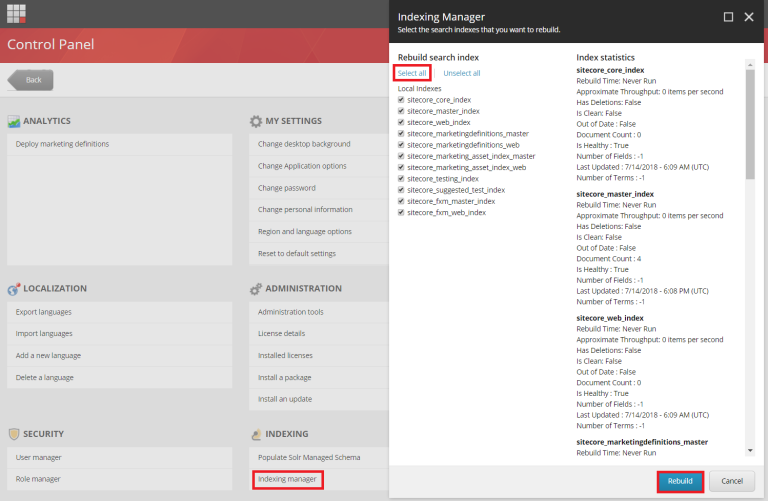
- on the Sitecore Launchpad, click Control Panel, and in the Indexing section, click Indexing manager
- in the Indexing Manager dialog box, click Select all, and then click Rebuild
- DO NOT stop the xConnect site sc902com.xconnect.local
- from the installation guide with love (Page 9)

- create a new folder D:\sc902_com_install
- create a certificate for the Sitecore Commerce Engine Connect to authenticate with the Sitecore XC Engine:
- launch PowerShell as an administrator
- create the certificate by running the following cmdlet:
- New-SelfSignedCertificate -certstorelocation cert:\localmachine\my -dnsname “storefront902.local”
- export the certificate to a file by running the following cmdlet:
- Export-Certificate -Cert cert:\localMachine\my\<Thumbprint-of-cert> -FilePath D:\sc902_com_install\storefront902.local.cer
- for example:

- download MSBuild Microsoft Visual Studio Web targets(available from Nuget) then extract the Web targets package, copy the \tools\VSToolsPath\Web\Microsoft.Web.XmlTransform.dll file into D:\sc902_com_install
- download Sitecore Experience Accelerator 1.7.1(Note: must log into https://dev.sitecore.net/ before downloading) and put it into D:\sc902_com_install
- download Sitecore Powershell Extensions 4.7.2 then put it into D:\sc902_com_install
- download and unzip Packages for On Premises 2018.07-2.2.126 (Note: must log into https://dev.sitecore.net/ before downloading)
- unzip D:\sc902_com_install\Sitecore.Commerce.1.2.14.zip and then rename D:\sc902_com_install\SIF.Sitecore.Commerce.1.2.14 to D:\sc902_com_install\SIF for a better practice
- unzip the D:\sc902_com_install\BizFX.1.2.19.zip
- unzip the D:\sc902_com_install\Commerce.Engine.SDK.2.2.72.zip file then copy the D:\sc902_com_install\Sitecore.Commerce.Engine.SDK.2.2.72\Sitecore.Commerce.Engine.DB.dacpac file into D:\sc902_com_install
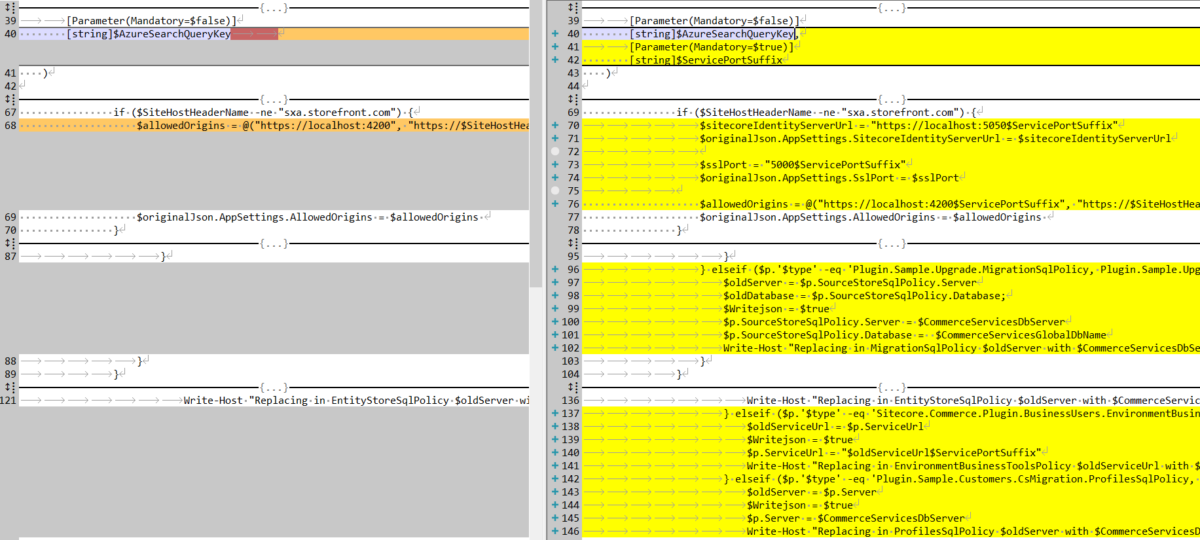
- download sc902_com_install.ps1 and then put it into D:\sc902_com_install\SIF then open it to correct 11 parameters below:
- $InstanceSuffix
- $ServicePortSuffix
- $SitePrefix
- $ScInstallDirectory
- $SiteHostHeaderName
- $SqlServer
- $SqlDbPrefix
- $CommerceEngineCertificatePath
- $SolrUrl
- $SolrRoot
- $SolrService
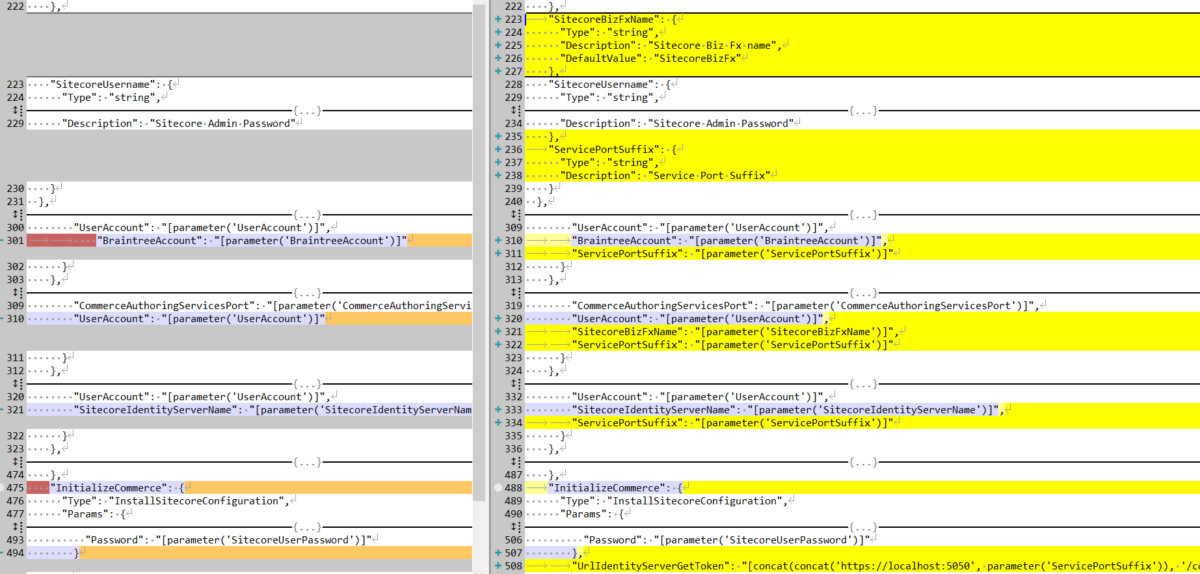
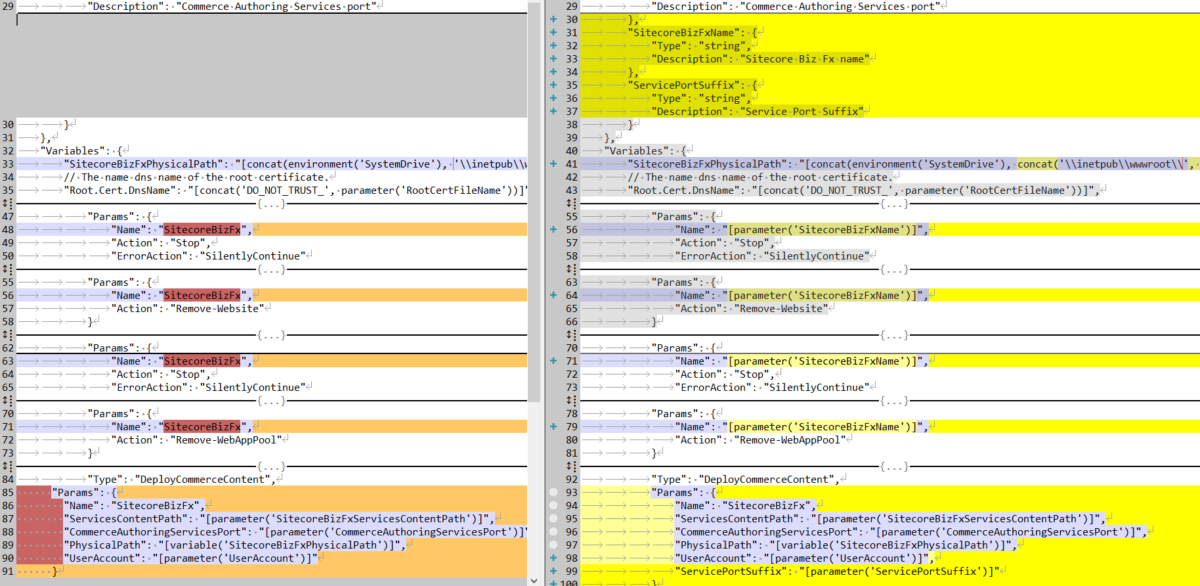
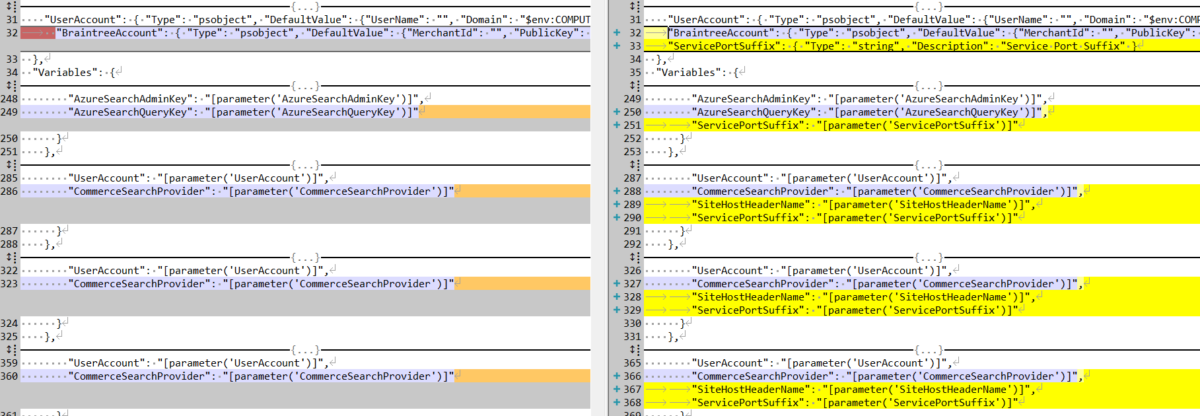
- copy / paste Master_SingleServer.json to the one in D:\sc902_com_install\SIF\Configuration\Commerce so that we have a chance to inject our Service Port Suffix to every single configuration + inject SitecoreBizFxName as well (Note: the name SitecoreBizFx is hardcoded by default)
- copy / paste SitecoreBizFx.json to the one in D:\sc902_com_install\SIF\Configuration\Commerce\SitecoreBizFx so that we have a chance to use our Service Port Suffix and make SitecoreBizFx‘s name configurable
- copy / paste SitecoreIdentityServer.json to the one in D:\sc902_com_install\SIF\Configuration\Commerce\SitecoreIdentityServer so that we have a chance to use our Service Port Suffix
- copy / paste CommerceEngine.Deploy.json to the one in D:\sc902_com_install\SIF\Configuration\Commerce\CommerceEngine so that we have a chance to use our Service Port Suffix + add Site Host Header Name to deploy tasks so we are able to correct some misconfigurations by default while deploying the commerce content
- copy / paste DeployCommerceContent.psm1 to the one in D:\sc902_com_install\SIF\Modules\DeployCommerceContentso that we append our Service Port Suffix to appropriate places and correct some misconfigurations of the default one as well
- (optional): you can specify any local account (note: it will be created automatically if non-existent)to be set up for the various application pools that are created as part of the deployment in sc902_com_install.ps1
- for example:

- (optional): if you play with SQL Server 2017, you will have to download DeployCommerceDatabase.psm1 then overwrite D:\sc902_com_install\SIF\Modules\DeployCommerceDatabase\DeployCommerceDatabase.psm1
- (optional): you may get timeout exceptions (some tasks’ execution timeout is only 12 minutes by default and the remote query timeout of SQL Server is only 10 minutes by default) so I suggest:
- download SitecoreUtilityTasks.psm1 then overwrite D:\sc902_com_install\SIF\Modules\SitecoreUtilityTasks\SitecoreUtilityTasks.psm1in order to increase the execution timeout
- download PerformanceTweak.config then put it into \sc902com.local\App_Config\Environment in order to turn all Sitecore jobs off and disable xDB for a better installation (you know, it’s a super long operation :D)
- configure the remote query timeout option of SQL Server:
- using SQL Server Management Studio
- in Object Explorer, right-click a server and select Properties
- under Remote server connections, in the Remote query timeout box, type or select a value from 0 through 2,147,483,647 to set the maximum number seconds for SQL Server to wait before timing out
- consider to put $global:ProgressPreference = ‘silentlyContinue’ into the sc902_com_install.ps1 in order to speed up the operation
- launch PowerShell as an administrator

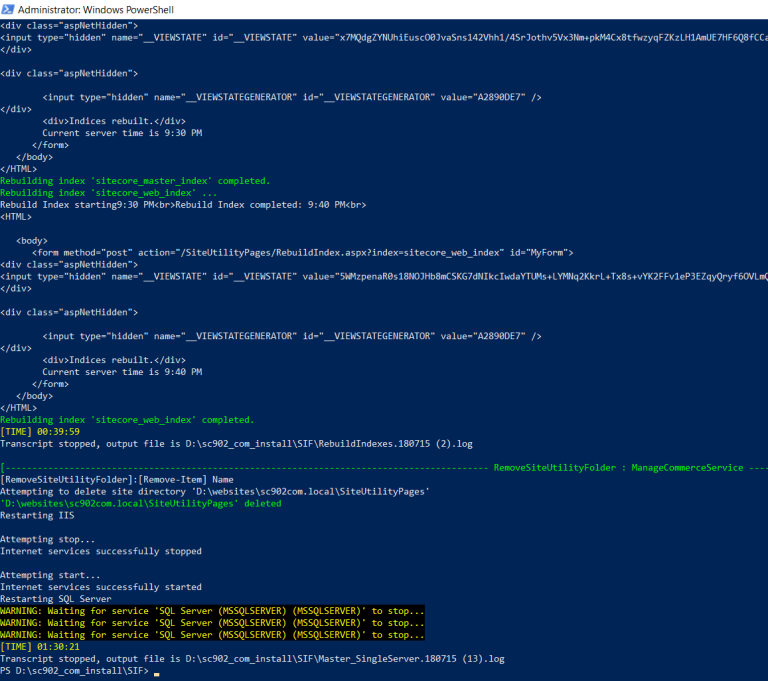
- hopefully there is nothing that can stop the installation process now
- open a browser then navigate to storefront902.local/, you would see the default page of Sitecore website. That’s because we don’t use the default host name sxa.storefront.com so we need to correct it inside Sitecore
- log into sc902com.local/sitecore/
- access /sitecore/content/Sitecore/Storefront/Settings/Site Grouping/Storefront
- update Host Name to storefront902.local and then publish it
- access /sitecore/content/Sitecore/Storefront/Presentation/Page Designs
- update Themefield to Storefont Branded and then publish it
- refresh storefront902.local/, you would see something like this

- DO NOT forget to perform Post-Installation Steps
- remove \sc902com.local\App_Config\Environment\PerformanceTweak.config if existent
- follow Chapter 4 Post-Installation Steps(Page 15 – 17) in Sitecore Commerce 9 Update 2 Installation Guide
How to uninstall it?
- download sc902_com_uninstall.ps1 and put it into D:\sc902_com_install then open it to correct 07 parameters below:
- $InstanceSuffix
- $Prefix
- $SolrService
- $PathToSolr
- $SqlServer
- $SqlAccount
- $SqlPassword
- launch PowerShell as an administrator
- hopefully, it runs well and cleans everything up
Note: some known issues
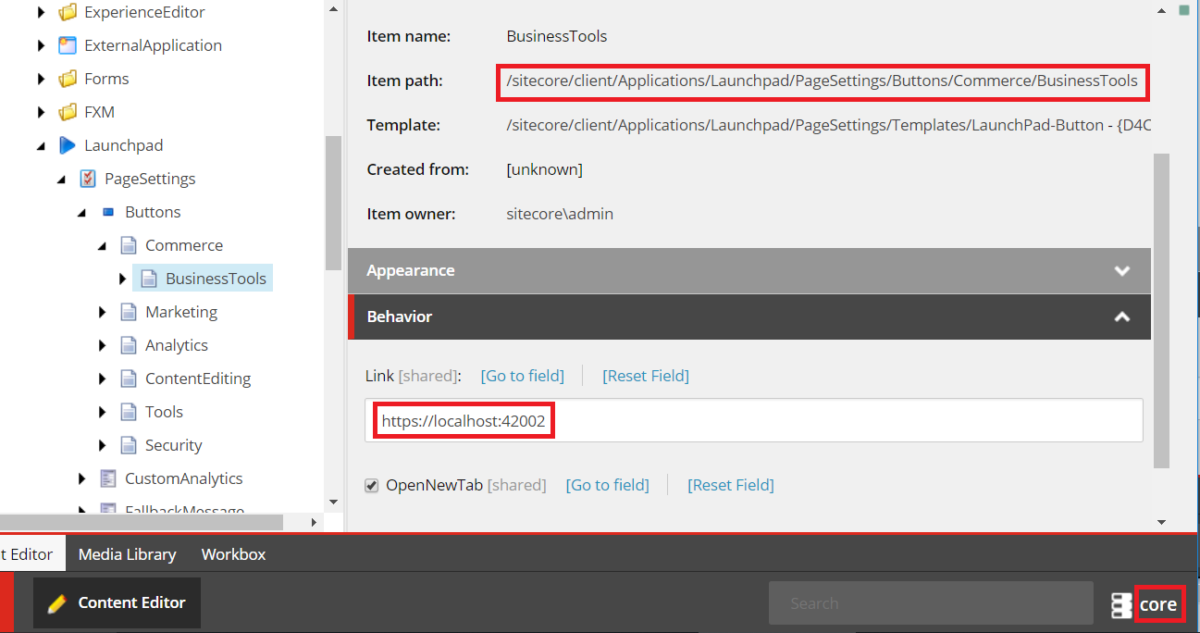
- Business Tools link is still the default one instead of the new one in Sitecore Launchpad
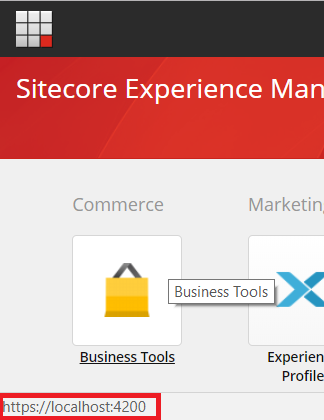
- it’s in Commerce.Engine.Connect.2.2.86.update file and I’ve not figured out the way to append Service Port Suffix yet
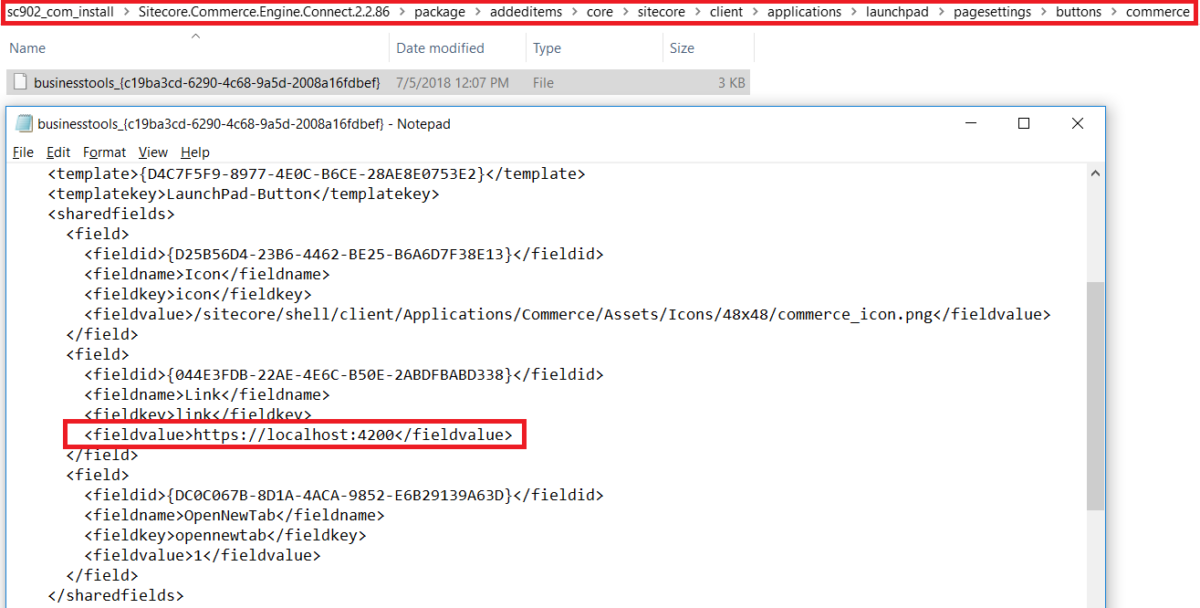
- in the meantime, I have to correct it manually
- switch to core database
- access /sitecore/client/Applications/Launchpad/PageSettings/Buttons/Commerce/BusinessTools
- correct Link field and then save it
- The service cannot accept control messages at this time
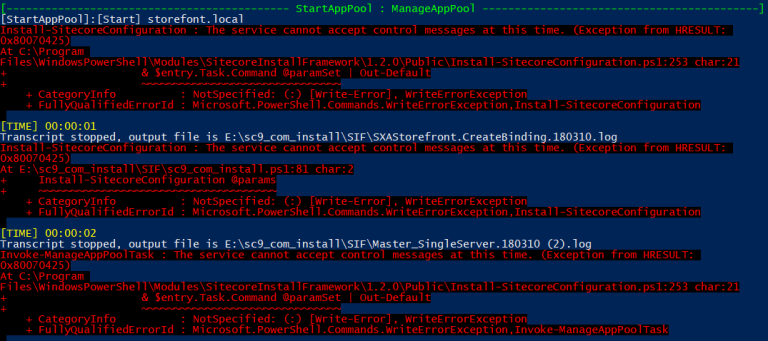
- access IIS, start sc902com.local site and sc902com.local application pool manually (note: you may need to do it several times) if they’re in STOP status, somehow IIS cannot restart those ones after stopping them
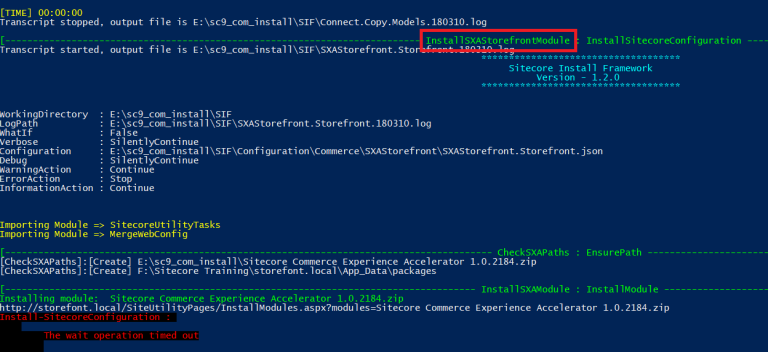
- The wait operation timed out: [SqlException (0x80131904): Connection Timeout Expired. The timeout period elapsed during the post-login phase. The connection could have timed out while waiting for server to complete the login process and
respond; Or it could have timed out while attempting to create multiple active connections.
- open D:\sc902_com_install\SIF\Configuration\Commerce\Master_SingleServer.json to remove the tasks completed
- for instance, I would remove all the completed tasks before InstallSXAFrameworkModule then re-do Step 24 again
- Request timed out: Exception Details: System.Web.HttpException: Request timed out.
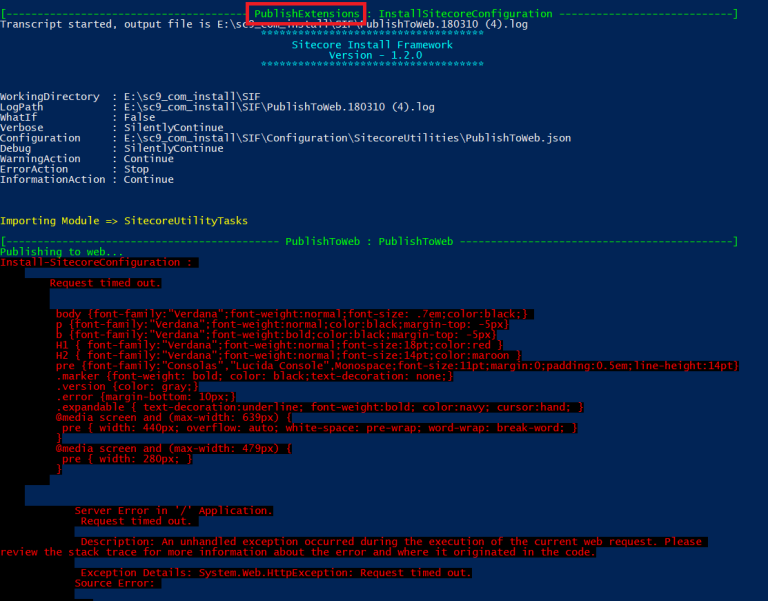
- my suggestions:
- open D:\sc902_com_install\SIF\Configuration\Commerce\Master_SingleServer.json to remove the tasks completed
- for instance, I would remove all the completed tasks before PublishExtensions then re-do Step 23 again
- consider to perform Step 22 as well if solution #1 does not work as expected then re-do Step 23 again
- open D:\sc902_com_install\SIF\Configuration\Commerce\Master_SingleServer.json to remove the tasks completed
- Something went wrong restarting SQL server again: Cannot validate argument on parameter ‘InputObject’. The argument is null or empty. Provide an argument that is not null or empty, and then try the command again.

- somehow SQL Server window service cannot restart after stopping, ensure SQL Server window service is running
Got issues?
Please send your issues (with screenshots if possible) to [email protected] so that I have a chance to understand your problem and be able to suggest the solution.
Happy Sitecore Installation!
This article first appeared on Walking on clouds.


